Whether you are building the next experience marketplace for the world or a script to automate your daily tasks, this guide will get everything in place.
This quickstart will set you up for fetching data from the API in only 10 minutes.
In completing this quickstart, you'll learn:
- How to generate credentials to access the API
- How to use credentials to securely perform requests
- How to send your first API request
Before you can access the API, you need valid credentials to authenticate and authorize your access.
You need an Understory account to complete this step. If you don't have one sign up now for free and come back here when done.
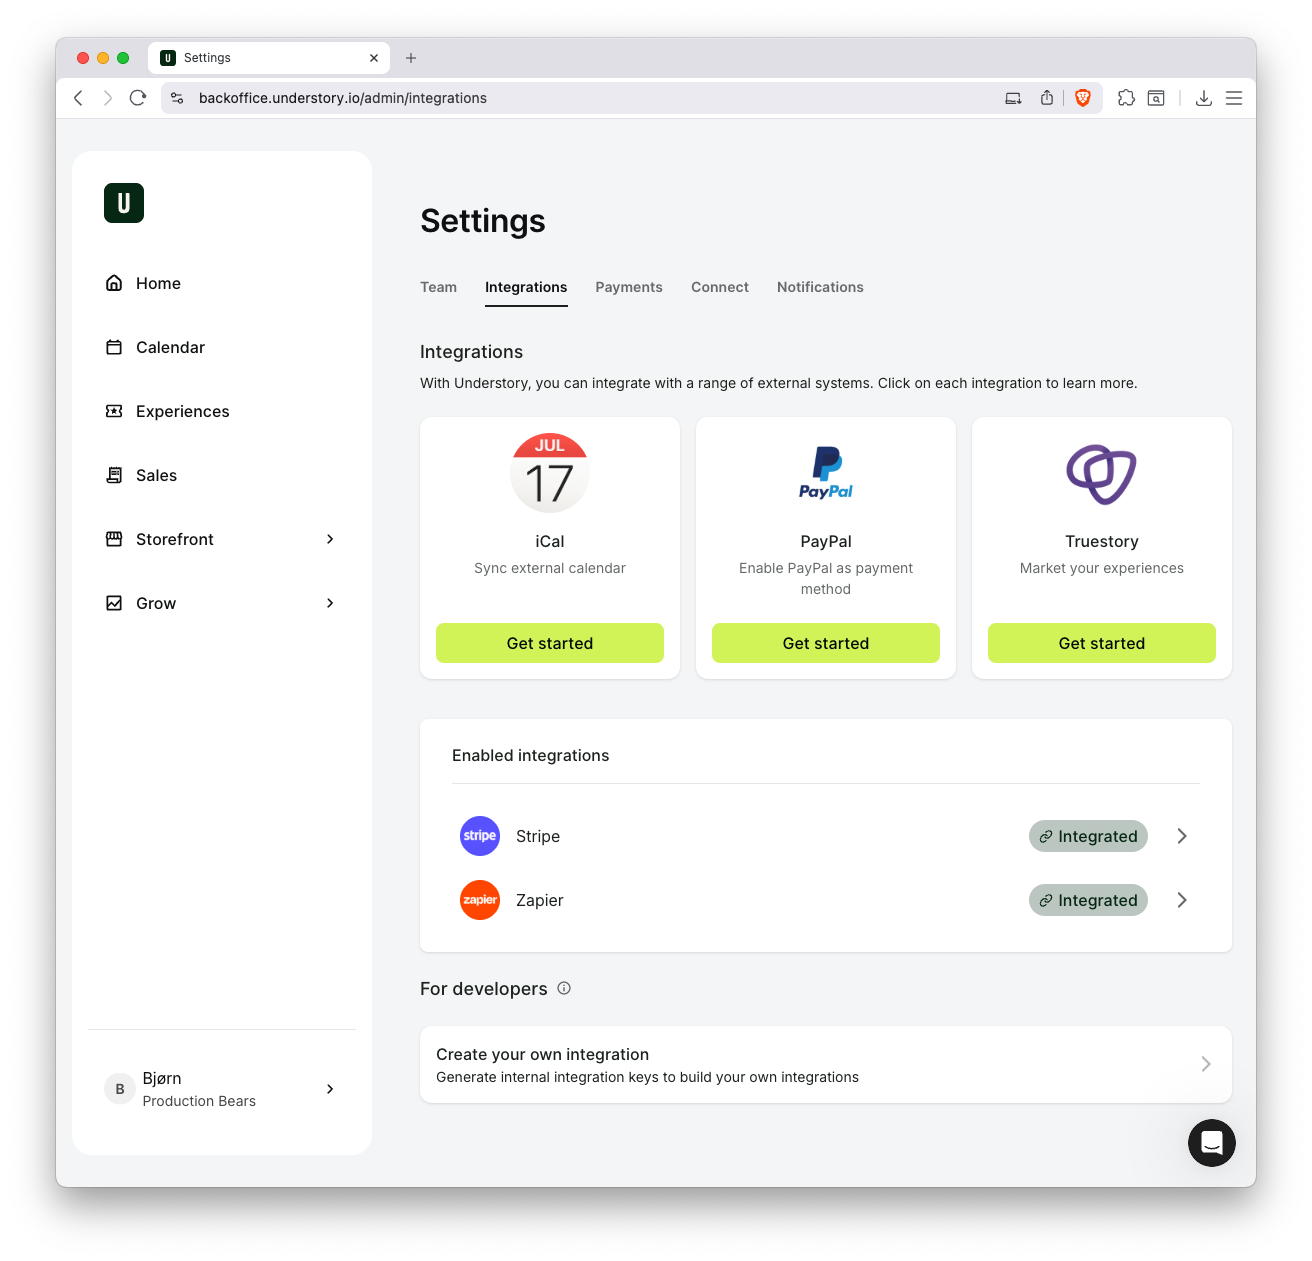
Sign in to Backoffice, click your profile in the lower left corner and click on Company settings. Navigate to the Integrations tab in the menu. At the bottom, you can create your integration, which is exactly what we are about to do. Click the "Create your own integration" bar.
Here you have a list of all the internal integration keys you have created. This is the place where you can view, update, and remove any keys in the future. The list is empty but we are about to change that.
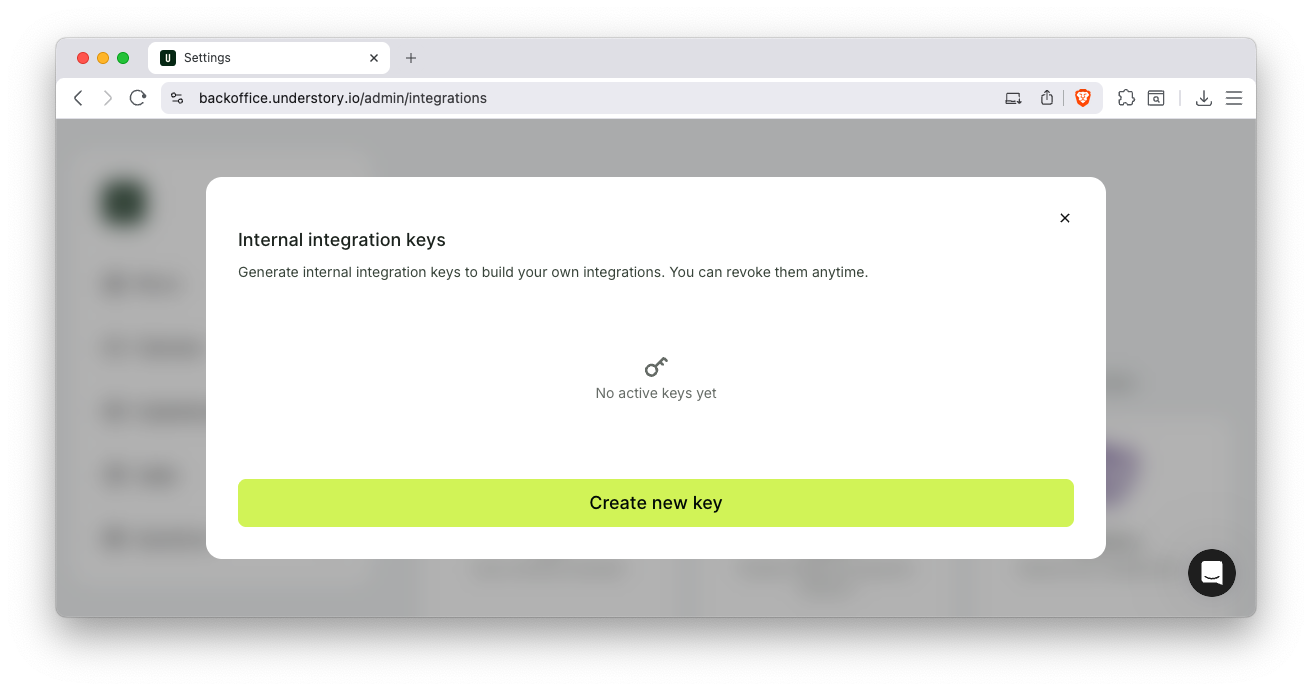
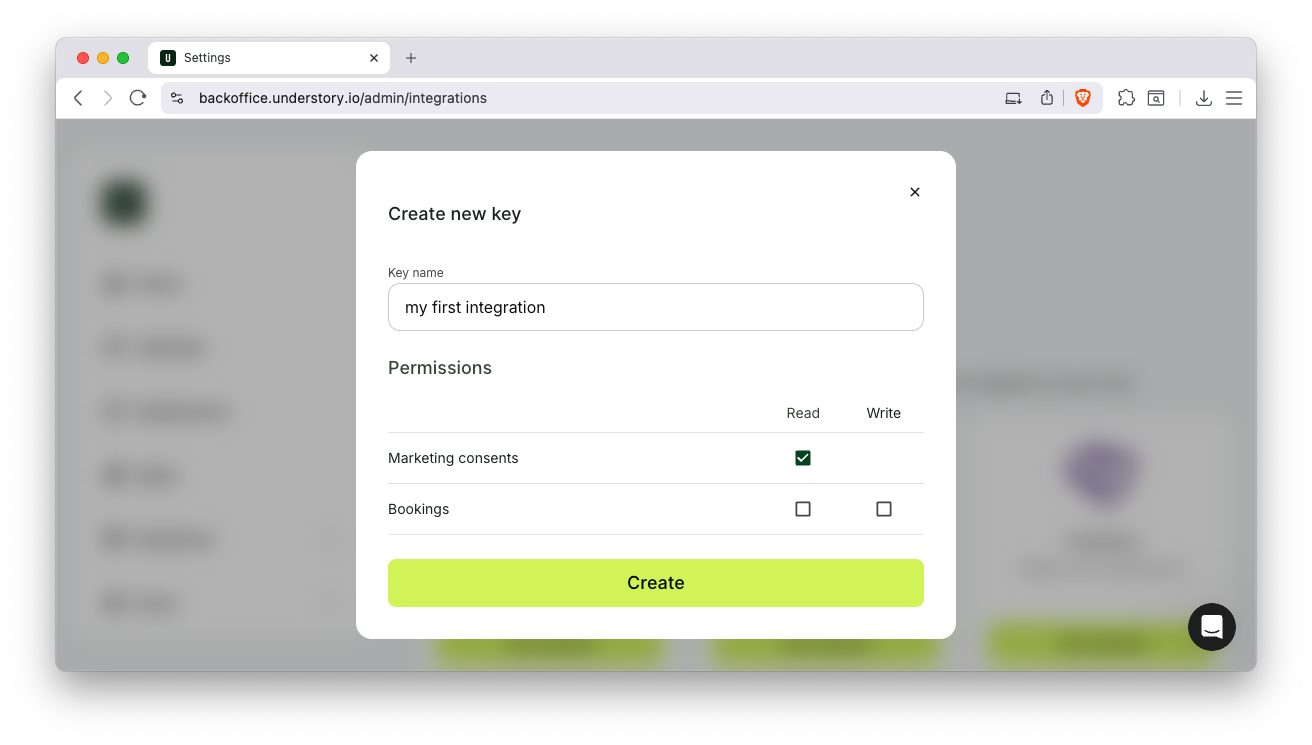
Click the big "Create new key" button and choose a descriptive name. It is just for your reference so pick anything you will understand in the future. You also need to select at least one permission to continue. Let's select "Read" for "Marketing consents". Now click "Create".
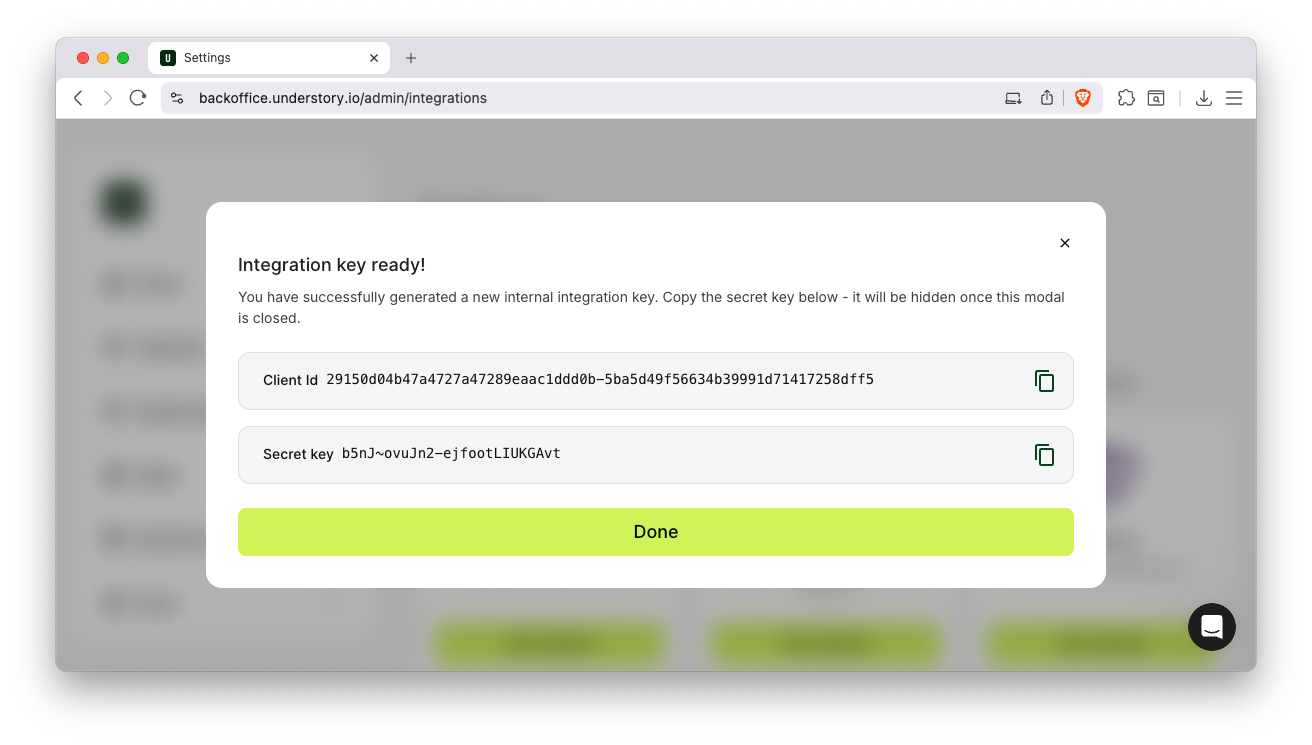
That's it. You have created your very first integration keys. You must store these safely. The Client ID is OK to store in text, but the Secret Key will only ever be shown at this one time. Store it safely and don't share it. Anyone with this pair of information can access your Understory data.
Next up is how we can use these to pull data out of Understory.
Your newly generated credentials are a pair referred to as Client ID and secret. They are long-lived and tied to your account and the capabilities that were checked off when creating it.
The credentials cannot be used by them selves to issue requests to the Understory API. Instead, you need to collect a time-limited access token to perform your requests.
Understory relies on battle-tested authentication and authorization protocols, namely OAuth2.0 with OpenID Connect (OIDC). These protocols are widely used, and most languages and frameworks have built-in functionality to manage access tokens, refresh tokens, etc.
This guide will show you how to get an access token with curl, but please use standardized libraries for anything more complex than this.
clientId="<client-id>"
clientSecret="<secret-key>"
scopes="openid marketing.read"

curl -X POST https://api.auth.understory.io/oauth2/token \
    -H "User-Agent: My-Company/Marketing-Automation-App" \
    -H "Content-Type: application/x-www-form-urlencoded" \
    -d "grant_type=client_credentials&scope=$scopes&audience=https://api.understory.io&client_id=$clientId&client_secret=$clientSecret"
You need to provide the following fields in the body of the HTTP request.
| Field | Value |
|---|---|
grant_type | Literal string client_credentials |
audience | Literal string https://api.understory.io |
scope | Applicable space seperated scopes |
client_id | Client ID |
client_secret | Secret key |
The response will contain your time-limited access token. Notice the expires_in field that contains the number of seconds the token is valid. In this case, it expires in 3599 seconds or just short of 1 hour.
{
  "access_token": "eyJhbGciOiJSUzI1NiIsImtpZCI6ImZhNTc3YmE0LTk5MmQt(...)",
  "expires_in": 3599,
  "scope": "openid marketing.read",
  "token_type": "bearer"
}
In practice, this means you will need to repeat the call to /oauth2/token every hour to get a new access token.
With the access token in hand, we are ready to make the first request to the Understory API.
We allowed the keys to read our marketing consents at v1/grow/consents, so let's try and get those with our new access token.
- https://api.understory.io/v1/marketing-consents
curl -i -X GET \
  'https://api.understory.io/v1/marketing-consents?cursor=string&limit=100' \
  -H 'Authorization: Bearer <YOUR_TOKEN_HERE>'
That's it! You made it, and you are ready to start building your integration. Congratulations 🎉
The next steps are up to you:
- General usage to plan your integration? Go to About to learn more
- Poke around with the endpoints to see what you can do. Go to the API Reference