The Understory API requires you to authenticate yourself in most endpoints. To authenticate your requests you need to provide an access token which is based on your integration credentials.
We use the standard OAuth2.0 protocol with Open ID Connect (OIDC). These are industry standards and most programming languages and frameworks support these out of the box.
We support the OAuth2.0 client_credentials grant for internal integration keys. See Authenticating with internal integration keys to learn how to use that.
Below are the protocol endpoints which can be used to configure your client of choice.
| Description | Endpoint |
|---|---|
| Issuer | https://api.auth.understory.io |
| OpenID Connect Discovery Endpoint | https://api.auth.understory.io/.well-known/openid-configuration |
| Token | https://api.auth.understory.io/oauth2/token |
| Authorize | https://api.auth.understory.io/oauth2/auth |
You can generate internal integration keys inside Backoffice to build your integrations against the Understory API.
You will utilize the client_credentials OAuth2.0 grant to get access tokens from integration keys.
These keys allow your integration to act on your company's resources within the API and can be scoped to specific functionality to follow the Principle of least privilege.
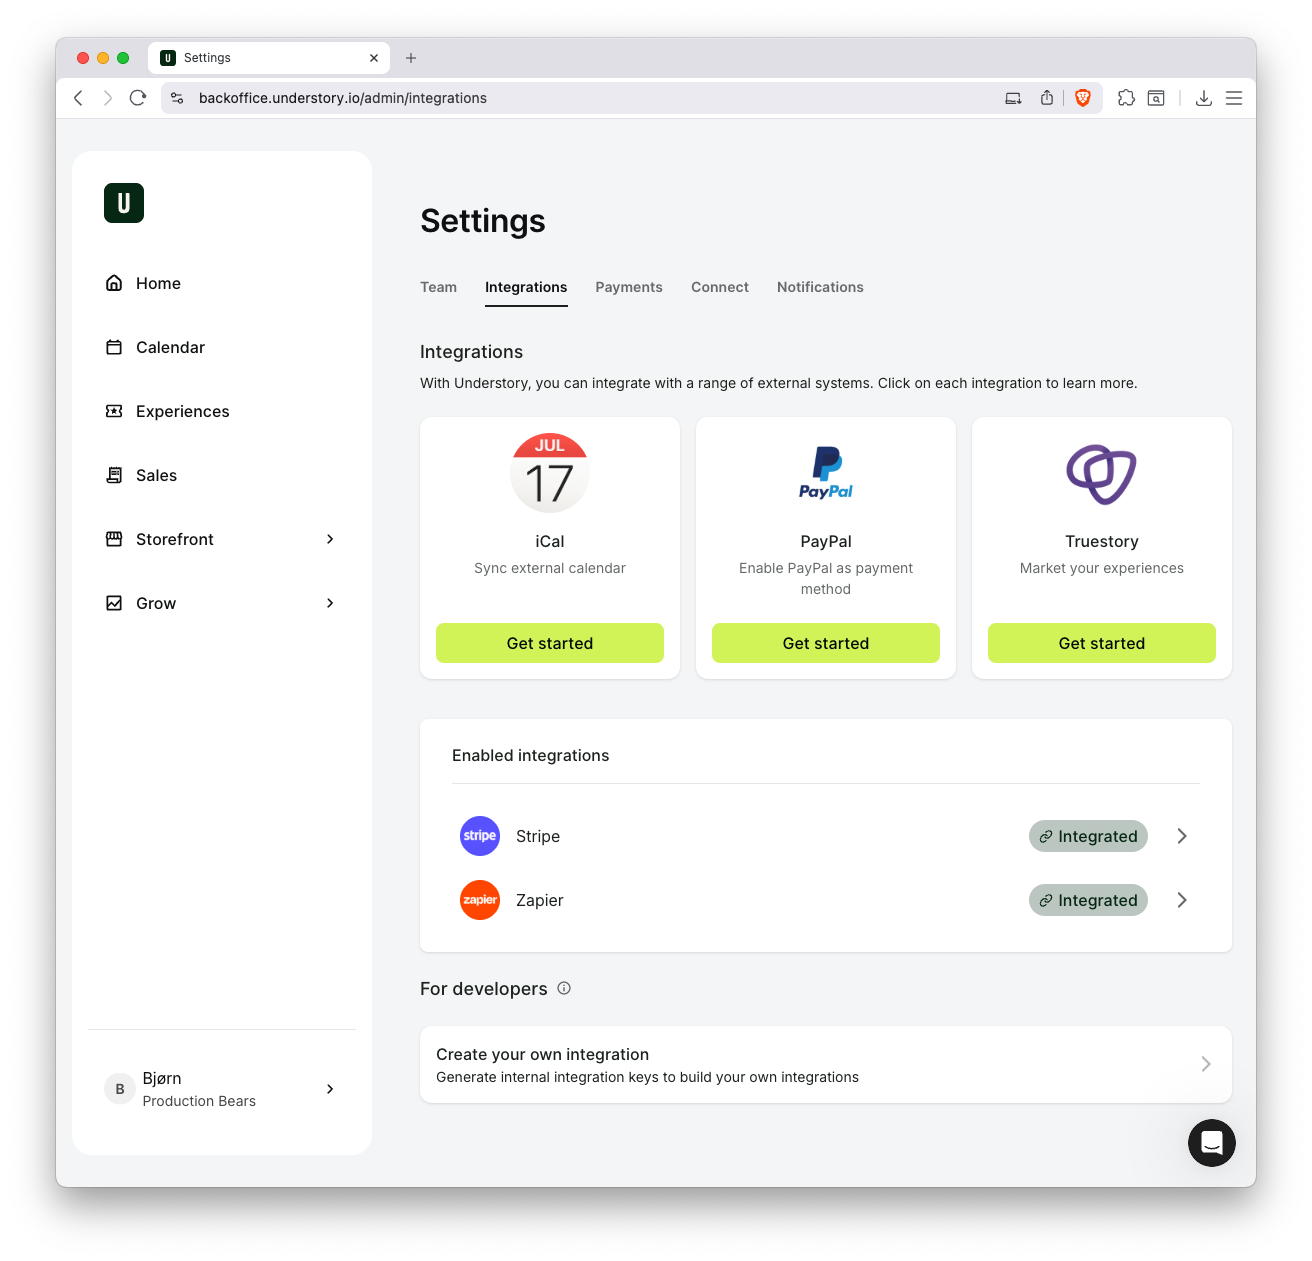
Sign in to Backoffice, click your profile in the lower left corner and click on Company settings. Navigate to the Integrations tab in the menu. At the bottom, you can create your integration, which is exactly what we are about to do. Click the "Create your own integration" bar.

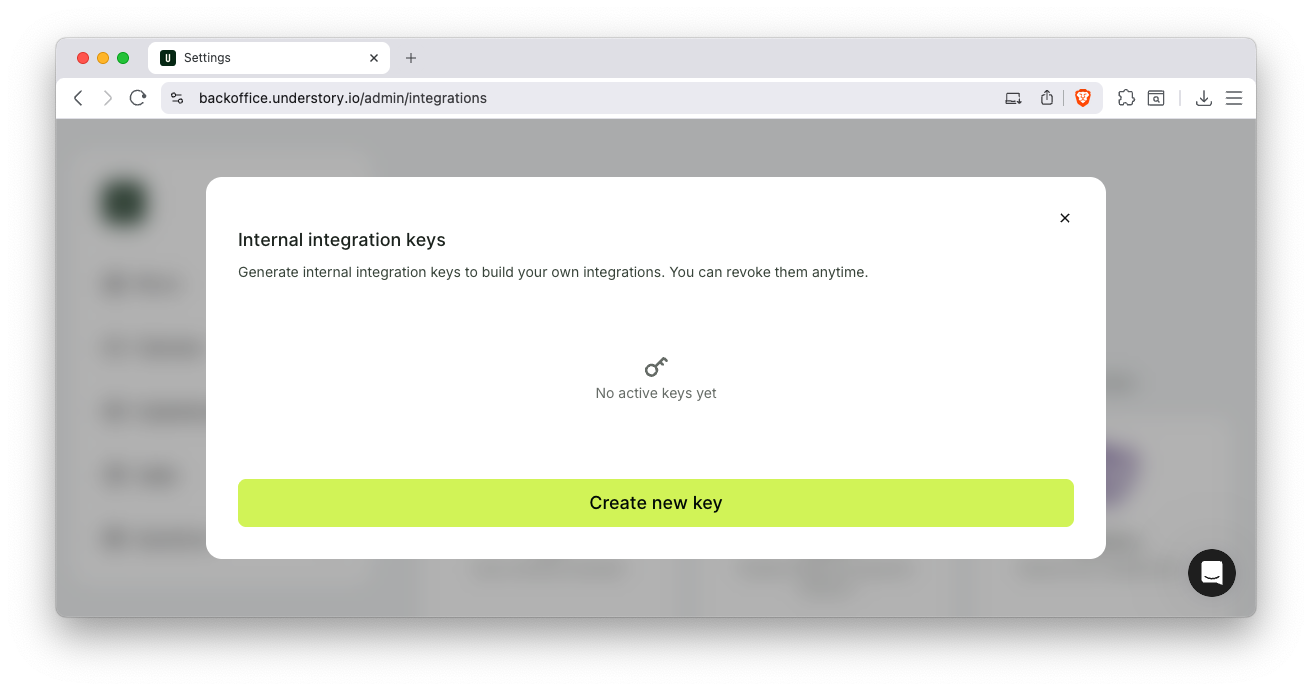
Here you have a list of all the internal integration keys you have created. This is the place where you can view, update, and remove any keys in the future. The list is empty but we are about to change that.

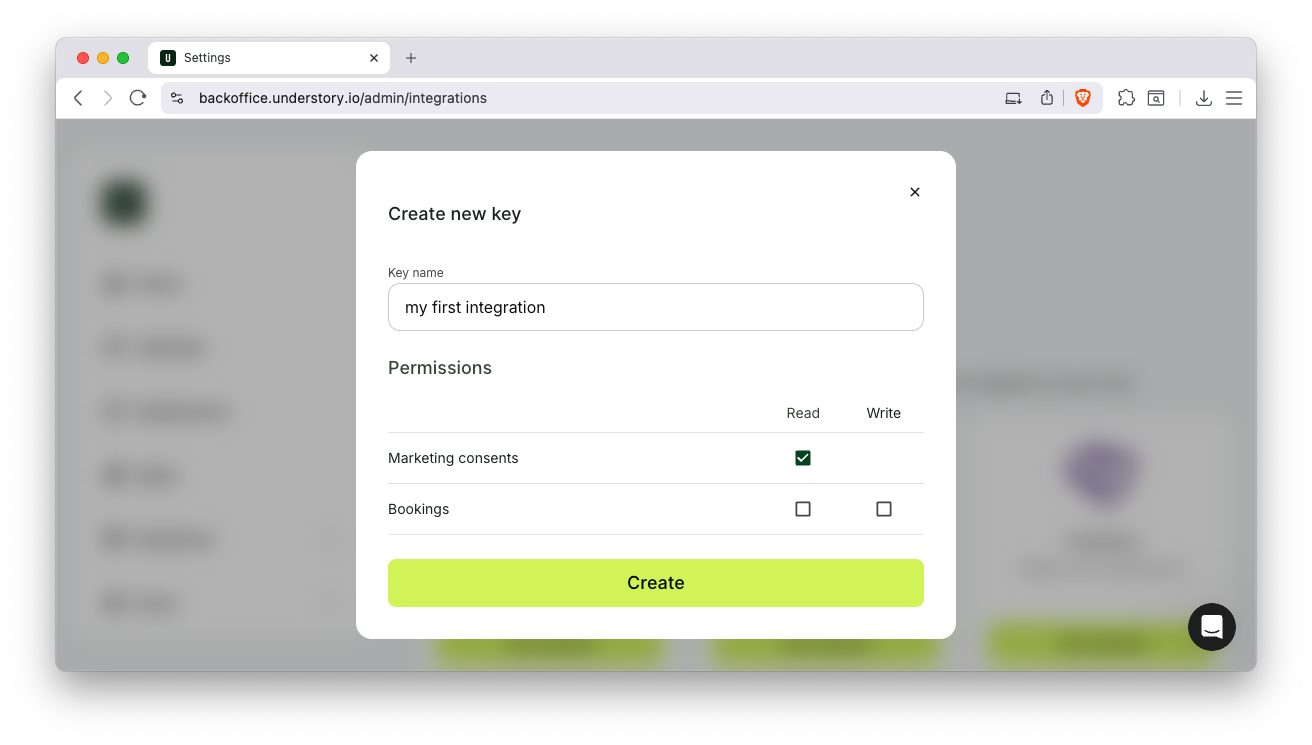
Click the big "Create new key" button and choose a descriptive name. It is just for your reference so pick anything you will understand in the future. You also need to select at least one permission to continue. Let's select "Read" for "Marketing consents". Now click "Create".

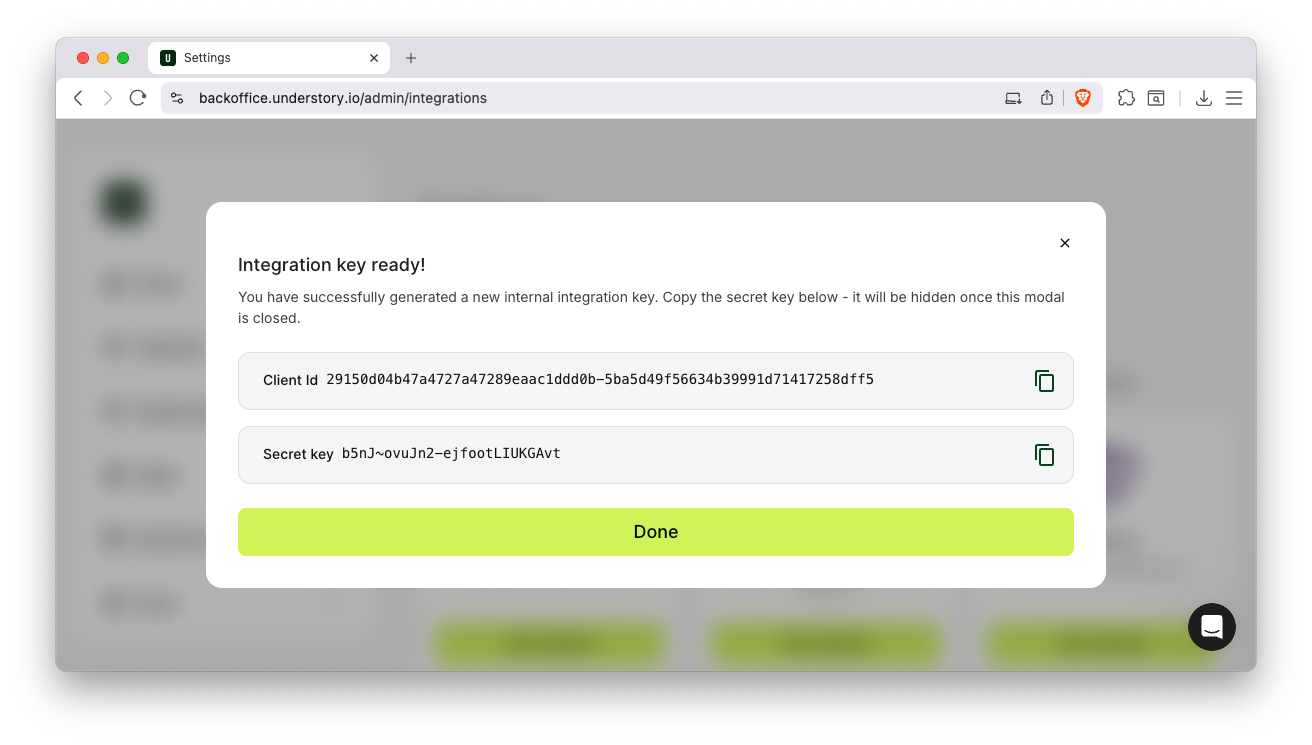
That's it. You have created your very first integration keys. You must store these safely. The Client ID is OK to store in text, but the Secret Key will only ever be shown at this one time. Store it safely and don't share it. Anyone with this pair of information can access your Understory data.

With the credentials at hand, you can fetch an access token to use in requests for the API.
You will perform the client_credentials OAuth2.0 grant to get an access token.
With your Client ID and Secret Key in hand you can fetch a token on the /oauth2/token endpoint.
clientId="<client-id>"
clientSecret="<secret-key>"
scopes="openid marketing.read"

curl -X POST https://api.auth.understory.io/oauth2/token \
    -H "User-Agent: My-Company/Marketing-Automation-App" \
    -H "Content-Type: application/x-www-form-urlencoded" \
    -d "grant_type=client_credentials&scope=$scopes&audience=https://api.understory.io&client_id=$clientId&client_secret=$clientSecret"
The response will contain your time-limited access token. Notice the expires_in field that contains the number of seconds the token is valid. In this case, it expires in 3599 seconds or just short of 1 hour.
{
  "access_token": "eyJhbGciOiJSUzI1NiIsImtpZCI6ImZhNTc3YmE0LTk5MmQt(...)",
  "expires_in": 3599,
  "scope": "openid marketing.read",
  "token_type": "bearer"
}
Be advised that the access token must be considered opaque. Any changes to the tokens format is not considered breaking changes and you should not build an integration that relies on it.